
Live Photos are like the quirky cousin of regular photos—full of energy but sometimes a bit too much. While they capture those fleeting moments in motion, there are times when a simple still image just hits the spot. Whether it’s for that perfect profile pic or a sleek gallery look, converting Live Photos to stills can save the day.
Understanding Live Photos on iPhone
Live Photos capture moments in a dynamic way, combining a still image with a short video clip. This feature adds movement and sound, creating a more vivid memory.
What Are Live Photos?
Live Photos use the iPhone’s camera to take a burst of shots before and after pressing the shutter button. Each Live Photo consists of a 12-megapixel photo, accompanied by a 1.5-second video clip. These images automatically play back when users press and hold the photo in the Photos app. Users can enable or disable this feature in the camera settings when capturing new photos.
Benefits of Live Photos
Live Photos enhance everyday moments by providing an interactive experience. The ability to set a key photo ensures that the most meaningful image represents the moment. Additionally, users can create animated GIFs or looping videos from these files, allowing for creative presentations. Editing tools allow quick adjustments to enhance quality and aesthetics, making Live Photos versatile for different occasions. Users enjoy the expanded storytelling potential these photos offer, making them particularly useful for personal albums or social media sharing.
Why Convert Live Photos to Still Images?
Converting Live Photos to still images offers various advantages for users seeking practicality and efficiency. It streamlines the use of valuable storage space on devices while simplifying overall photo management.
Saving Storage Space
Storage space can quickly fill up with multiple Live Photos occupying more memory than standard still images. Each Live Photo combines a 12-megapixel image with a 1.5-second video clip, consuming significant storage. By converting these photos to still images, users significantly reduce the amount of space needed. Saving space allows for more images, applications, and other files without constantly managing storage. This efficiency proves beneficial for anyone capturing numerous memories or managing limited storage capacity on their devices.
Simplifying Photo Management
Managing Live Photos can become cumbersome due to their interactive nature. Users often find it challenging to sift through numerous dynamic images, leading to clutter that detracts from easy access. Converting Live Photos to still images results in a more organized photo library. This conversion presents uniform images that are simpler to categorize, edit, or share, maintaining a cohesive look throughout your gallery. Simplified management enhances the user experience and allows for quicker retrieval of favorite memories when needed.
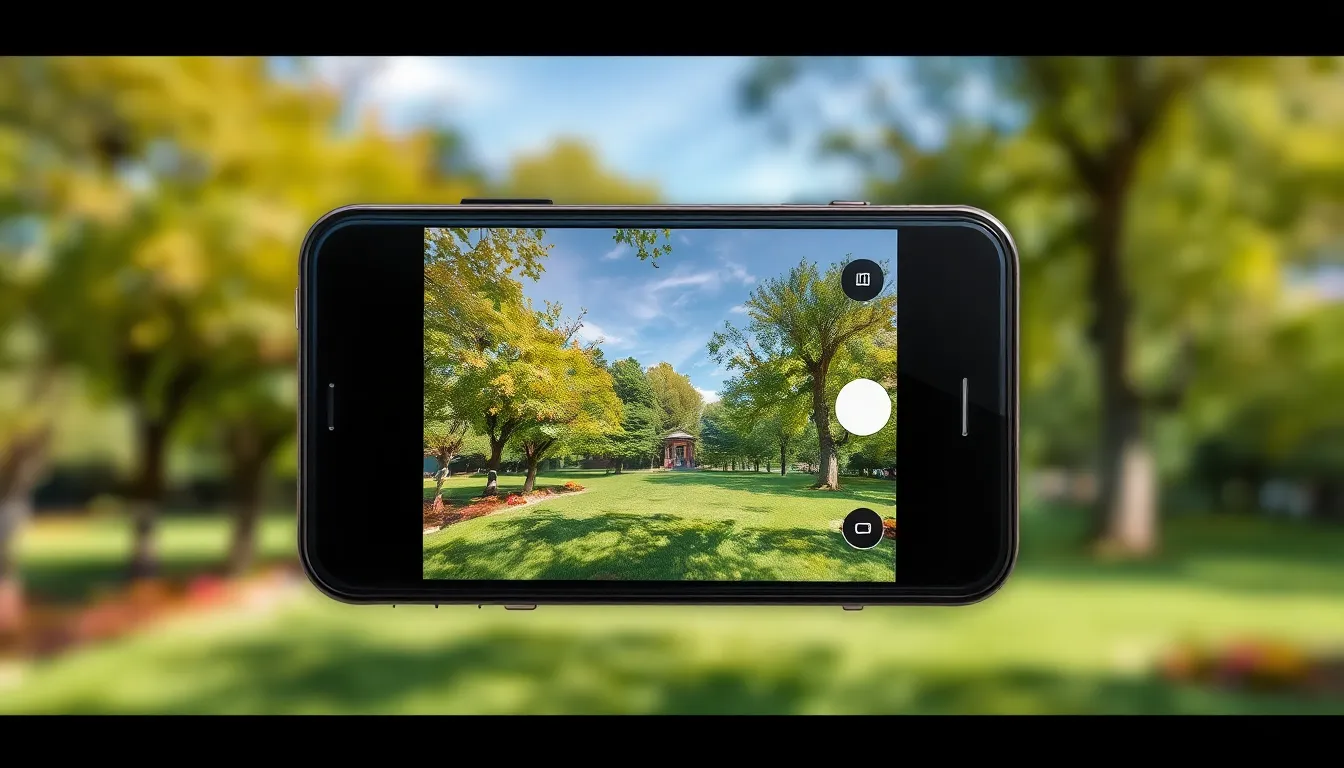
How to Convert All Live Photos to Still on iPhone
Live Photos can enhance moments with movement, but converting them to still images can simplify your photo library. Here’s how to do it efficiently.
Manually Converting Live Photos
First, open the Photos app and navigate to the Live Photos you want to convert. Tap on the photo to open it, then select “Edit” in the top right corner. You’ll see an option at the bottom to disable the Live feature, represented by a yellow Live Photo icon. Tapping this icon, it turns gray, indicating the photo is now a still image. Afterward, remember to tap “Done” to save changes. This method allows for quick conversion, keeping your library organized.
Using Third-Party Apps
Numerous third-party applications also assist in converting Live Photos to still images. Apps like “Lifelapse” and “Image Converter” are popular choices available in the App Store. Users can typically upload their Live Photos onto these platforms, which offer options to convert them to still images with just a few taps. These apps often feature additional editing tools, enhancing the user’s experience. By utilizing such applications, photo management becomes efficient, further streamlining your library.
Tips for Managing Your Photo Library
Managing a photo library effectively enhances the experience of storing and sharing images. Clear organization and proper backup practices contribute significantly to preserving memories.
Organizing Photos Efficiently
Establishing folders helps streamline access to images. Grouping similar photos, such as by events or time periods, provides clarity. Tagging images or using albums also aids in locating specific memories quickly. Deleting duplicates ensures the library remains uncluttered, while utilizing search features in the Photos app makes finding images simple. Regular maintenance of the photo library ensures that it stays manageable.
Backing Up Your Photos
Regularly backing up photos protects precious memories from loss. Utilizing iCloud for automatic backups offers seamless integration with Apple devices. External hard drives provide additional storage options, allowing users to keep physical copies of their favorites. Consider using photo management software for even more robust backup solutions. Establishing a backup routine, such as monthly checks, ensures that all new memories remain secure.
Converting Live Photos to still images on an iPhone offers users a practical way to manage their photo library. By simplifying storage and organization, it enhances the overall experience of capturing and sharing memories. Whether opting for the built-in Photos app method or exploring third-party applications, users can easily achieve a more streamlined collection of images. With effective photo management practices in place, users can enjoy a clutter-free library that allows for quick access to cherished moments. Embracing these techniques ensures that memories remain secure and easily retrievable for years to come.


